
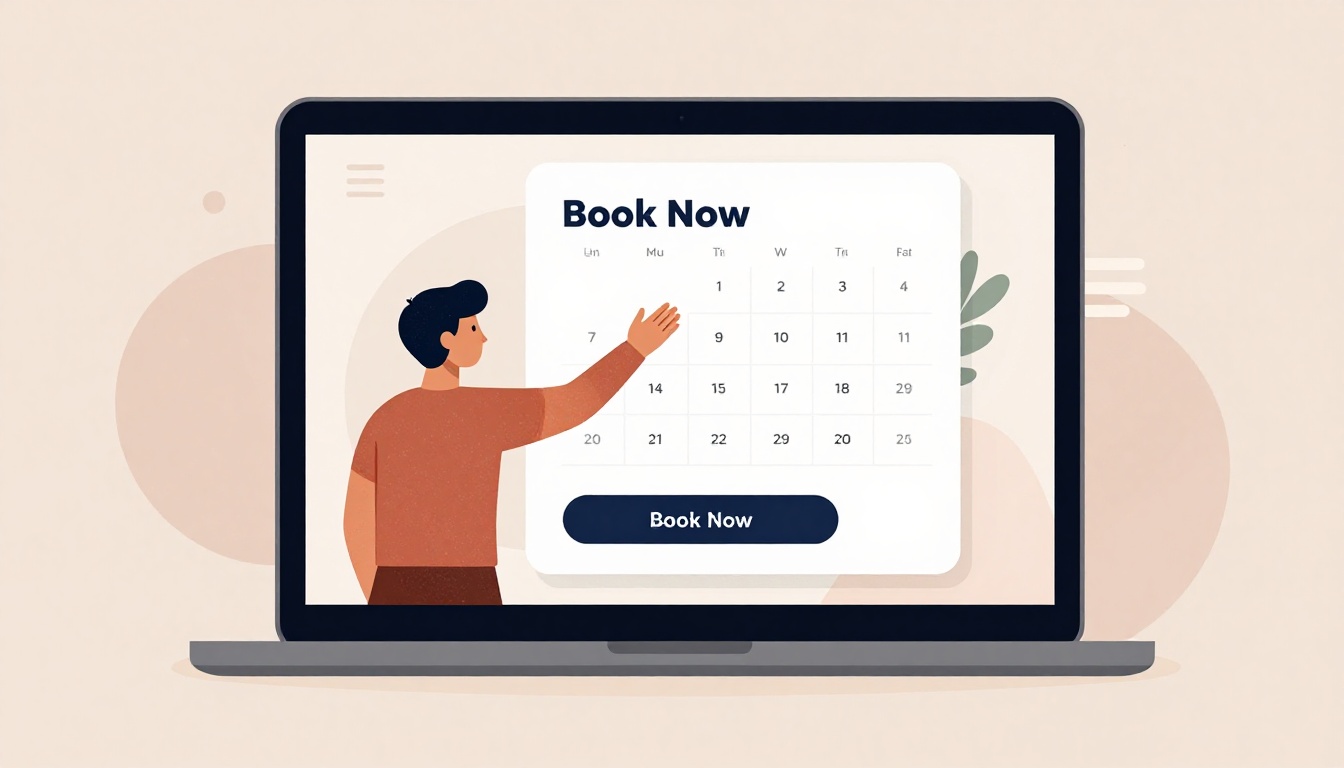
You're losing bookings every day because students can't schedule a class from your website.
When someone lands on your site at 10 PM, they want to reserve a spot instantly. If they have to email you and wait for a reply, they'll move on to the next teacher.
An online booking system solves this. It shows your real-time availability, lets students choose a time slot, and handles confirmations and reminders automatically. Here's how to set one up.
According to research cited in the article, what percentage reduction in unused appointments did online scheduling achieve?
Select one answer.
Choose your booking platform
Start by picking a scheduling tool that fits your needs. Look for these features:
- Online self-booking so students can reserve classes anytime
- Calendar sync to avoid double bookings
- Automated reminders to reduce no-shows
- Payment processing to collect fees at booking
- Website integration via embeddable widgets or buttons
Popular options include Square Appointments, Wix Scheduling, Setmore, and Bookeo. Each offers a free or low-cost tier for solo teachers.
Connect the booking system to your website
Once you've chosen a platform, you need to link it to your site. There are three common methods:
- Embed a booking widget – Paste a snippet of code into your site so students can book without leaving your page.
- Add a booking button – Place a "Book Now" button that opens your scheduling page in a new tab.
- Use a standalone booking page – Share a direct link from your booking tool on your site's navigation.
Most platforms provide step-by-step instructions for embedding. For example, Square Appointments lets you toggle on online booking and then copy your booking site URL to share with students.
Set up your services and availability
Define what you're offering. Create separate services for:
- Group classes (with recurring schedules)
- Private sessions
- Workshops or events
- Online classes (with Zoom or Google Meet integration)
Set your available hours, buffer time between sessions, and maximum class size. This prevents overbooking and gives students clear choices.
Enable payments and passes
Accepting payments at booking reduces no-shows and improves cash flow. Connect your booking tool to a payment processor like Stripe or Square. You can also sell class passes and memberships that renew automatically.
According to a peer-reviewed study cited by Bubble, online scheduling cut unused appointments by over half. Prepayment policies further reduce cancellations.
Test the full booking flow
Before going live, walk through the entire student experience:
- Visit your website and click the booking link
- Select a class or service
- Choose a date and time
- Complete payment (if required)
- Receive confirmation and reminder emails
Fix any broken links or confusing steps. Ask a friend to test it too.
Promote your new booking system
Once everything works, let students know:
- Add a "Book Now" button to your homepage and class schedule page
- Share the booking link in your email signature and social media bios
- Send an announcement email to your mailing list
- Include the link in your Instagram and Facebook profiles
How the Resident Expert Can Help
Setting up a booking system is one piece of the puzzle. Your entire website needs to work seamlessly to attract and convert students. That's where Kavi comes in. Kavi offers done-for-you websites tailored specifically for yoga teachers and wellness pros. For a flat monthly fee of $39, they handle design, hosting, updates, and support — so you never have to worry about the technical side. Your site can be ready in just two weeks with no upfront cost. Let Kavi take the hassle out of your online presence so you can focus on teaching.